FE780 Business End of the Dog - Building a Wordpress Website

A website is often the first impression your future customers will have of you and what you do! This class will help you build a first-in-class website for your dog business — good for trainers, breeders, or any other dog business.
Course Details
From overwhelmed to online — in just six weeks.
A website is often the first impression your future customers will have of you and what you do! This class will help you build a first-in-class website for your dog business — good for trainers, breeders, or any other dog business.
NOTE: There are additional costs associated with this class. Please read the full description for details.
A professional will charge you thousands of dollars to design your website, but with a bit of help from Melissa, you can have the same outcome for just a fraction of the cost.
Whether you’re looking to replace your existing Wordpress site or build a new one from scratch, this class can help! We’ll walk through the entire process of building a website, starting with purchasing the pieces you’ll need. Tutorial videos will show you every step of the process and lectures will help explain what each piece does and how they work together.
Students who follow along will walk away after 6 weeks with a completed site ready to release to the world! We’ll be using Wordpress and the Wordpress Theme Divi, from Elegant Themes, to create a site that’s unique and styled just the way you like it.
Why Wordpress and why Divi? This combo is the best combination I’ve found for an incredibly user-friendly experience with an incredibly professional looking final product. It’s flexible enough that no two sites should come out looking the same while being simple enough that you won’t need to learn code or be extremely technical to design something you love. Want to dig a little deeper? You can learn a little more about Divi here. We'll be using the new Divi 5 for this class.
How the levels work for this class:
If you’re a gold level student, Melissa will help you each step of the way, providing feedback on design, copy, and overall website planning, in addition to general questions. This is the next best thing to having a professional do it for you! This is the best option for you if you're a bit unsure about learning new technology, worried about keeping up, or want ongoing input into your design to ensure you follow best practices.
If you’re a silver level student, the silver spots have gotten a major upgrade! Silver students get one instructor feedback session a week — whether that's a technical issue you're stuck on, or page copy you'd like reviewed. Plus, you can ask an unlimited number of general questions. This is a really great option if you feel like you're fairly tech savvy, but want help achieving a specific look or want feedback and accountability throughout the class.
And if you are a bronze level student, you will have access to all of the information that you need to build a website, plus, by following along with your classmates, you will be able to problem solve and develop your creativity to get you where you need to go for an extremely attractive price!
To participate in this class you will NEED to purchase the Divi theme and Melissa strongly recommends purchasing hosting through Siteground (the hosting company featured in the class tutorial videos). If you already have hosting, you will need to ensure your hosting company offers WordPress and work with their support to set that up. You will also need to purchase a domain name.
Additional COSTS (see prerequisite tab for links):
Divi - $89/year or a one time fee of $249
Hosting with Siteground - $15-30/mo after the first year. ($3-5/mo for the first year)
Domain Name - Starting at $19.99/yr
These costs are in addition to the cost of the class.
Teaching Approach
This class will take a step by step approach. Each step will have written instructions with a corresponding video. Directions are very detailed. I recommend students read through the lecture AND watch the videos. For an example of what I mean, please see the sample lecture — all lectures throughout the class are done in a similar format.
Videos may be longer - I try hard to show every step of the process. Lectures are released almost daily. Feedback will mostly be written, however for gold students I will sometimes provide screenshots and/or custom videos to show how to solve a problem.
The class is fast-paced, but is set up to allow for a full website design during the length of the 6-week class — if students work through lectures weekly, they should have a finished site by the end of class.
This class will have a Teacher's Assistant (TA) who actually works for me doing this type of work full time available in the in-class study group (hosted within the forums) to help the Bronze and Silver students!
Syllabus
Prelectures:
- Purchasing the Tools
- What to do if you already have hosting / a domain
Week 1:
- The Pieces of a Website
- Getting Your Site Set Up
- Talking about Photos
- User Experience and Design
- Planning out your site
Week 2:
- Parts of a Website Design
- Starting Your Design: Planning
- Intro to Divi as a Theme
- Design Assignments 1-4
- Planning out your homepage
Week 3:
- Design Assignment 5
- Planning out your home page
- Beginning to Build Your Homepage
Week 4:
- Copywriting
- A little on Code
- Writing/Designing your about page
- Planning / Writing / Designing Services pages
Week 5:
- Writing / Designing your contact page
- What is SEO? How does it work?
- Looking at plugins & adding some common ones
- About Blogging, Designing your Blog
Week 6:
- Email Marketing - Adding forms to your site
- How to write a good blog post
- Technical details of Blogging
- Taking your website live
- Ongoing Maintenance
Prerequisites & Supplies
Sample Lecture
1.10 - Working With Images
Remember in my last lecture how I mentioned image size as something you want to consider?
Well, in this lecture we’re going to talk about WHY image size is important, how you can figure out what image size you have, and how you can resize images if they’re too large.
First things first…
How Big Are Your Images?
Whether you’re on a Mac or a PC, there is a pretty easy way to look at an image file and figure out what it’s dimensions are.
On a PC if you hover over the image, it shows you the “dimensions” in pixels.

You can also right click on the image, and then choose “Properties” and go to the “Details” tab.

On a Macbook, you can see your image size using your finder window. If you choose to show items in columns, and then click on an image, it displays the dimensions under the preview for that image.

When we’re working with Divi for our website, here is a cheat sheet with the image sizes we’ll need — don’t worry too much about the column size information right now (you’ll understand this more once we start working in Divi). The most important pieces to remember are that background images will likely need to be 1080 wide, usually by about 810 tall. If you aim to have at least a few images that are at least that big that also meet the criteria discussed in the last lecture, you should be okay.

Why Image Size is INCREDIBLY Important Online
Making sure we have the right images at the right size is incredibly important when you’re building a website. It’s tempting to just make all of your images 1080 x 810 and call it done — but if you only need an image half that size, you’re doing yourself a disservice.
When working with images on a website we always want our image to be just big enough and no bigger — that’s because images have a serious impact on the amount of time it takes a webpage to load. And if a website doesn’t load quickly, then users go elsewhere.
However, we do want to ensure our images are big enough; different people will be visiting our website on different screen sizes, and we want our images to appear crisp and attractive no matter what the screen size.
So: take the time to resize your images as you go along, so that you always have the right size image for where you plan to use it.
How to Resize Images
Personally, I use photoshop when I’m working on websites, but since Photoshop is expensive and I have it because I do a lot of other things using it too, I wanted to find something that was free that you guys could use for the purpose of this class.
The solution? Photo Pea - www.photopea.com.
This site will let you resize any images you’re using for your website totally free. I put together a short video to show you how it works.
Please note - you do not HAVE to use photopea. If you have a preferred program and know how to use it to resize your images, feel free to use any program you’d like!
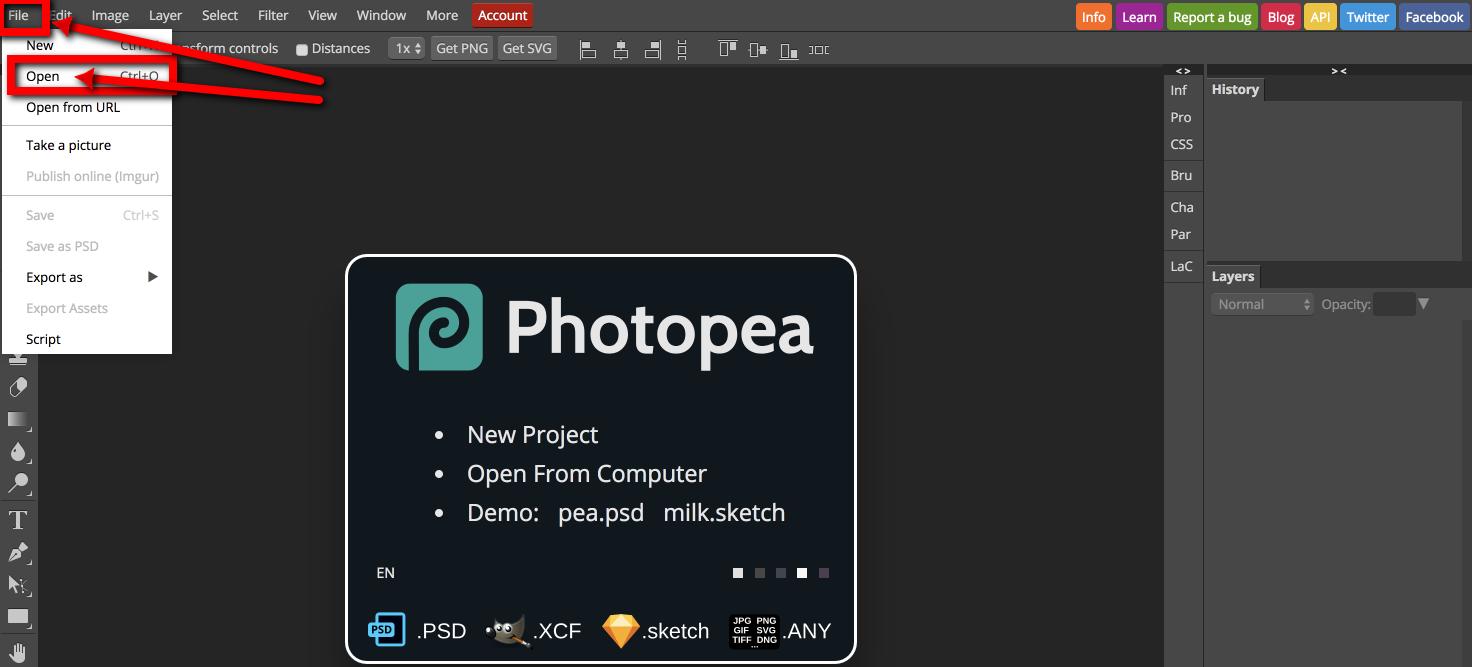
To begin, go to Photopea.com and click file then open. Locate the file you want to work on, where ever you saved it on your computer.
Once your image opens, go back to file and choose “new” from the menu. Create a new project in the size dimensions that we want to create.

In this case, I am going to create an image 1080 x 810 and 72 dpi.

Then click “Create.”

This will leave us with 2 image tabs at the top of the screen — one will have our original image and one will be our new project, with a blank white square.

Now we want to move our image into our new project — so click on the tab for our original image. Then click on the image and, holding down your mouse button, click and drag the image to the new project tab.

This will drop your original image into your new project, but the image will be too large for the frame. That’s okay — we’re going to resize it. Click the box to turn on “transform controls.”

This will turn on the settings so you can resize your image. Once you check the box, you’ll want to press and hold SHIFT down, and then use your mouse to click and drag the corner bounding box in; this will resize the image proportionally, making it smaller.
Let go of your mouse button and then let go of shift — then you can click with your mouse and drag the image to the center again. Repeat this until the image fits within your project square.
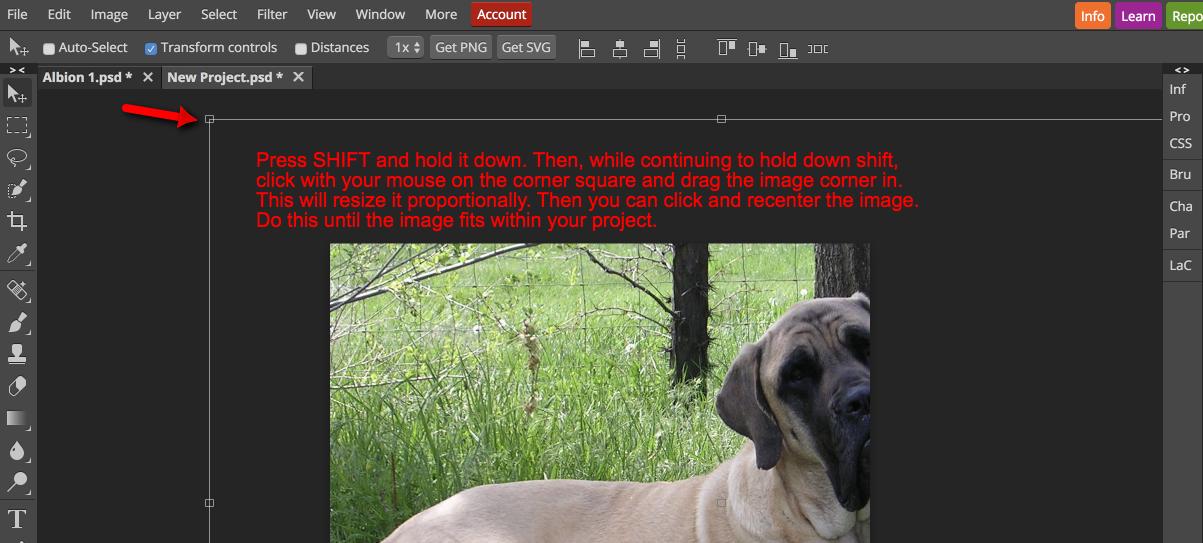
When done, it should look something like this.

Now we need to export the image and save it to our computer. Go to File then Export. If we’re resizing a photo, export it as a jpg. If you’re resizing a logo or something that needs a clear background, export it as a png file.
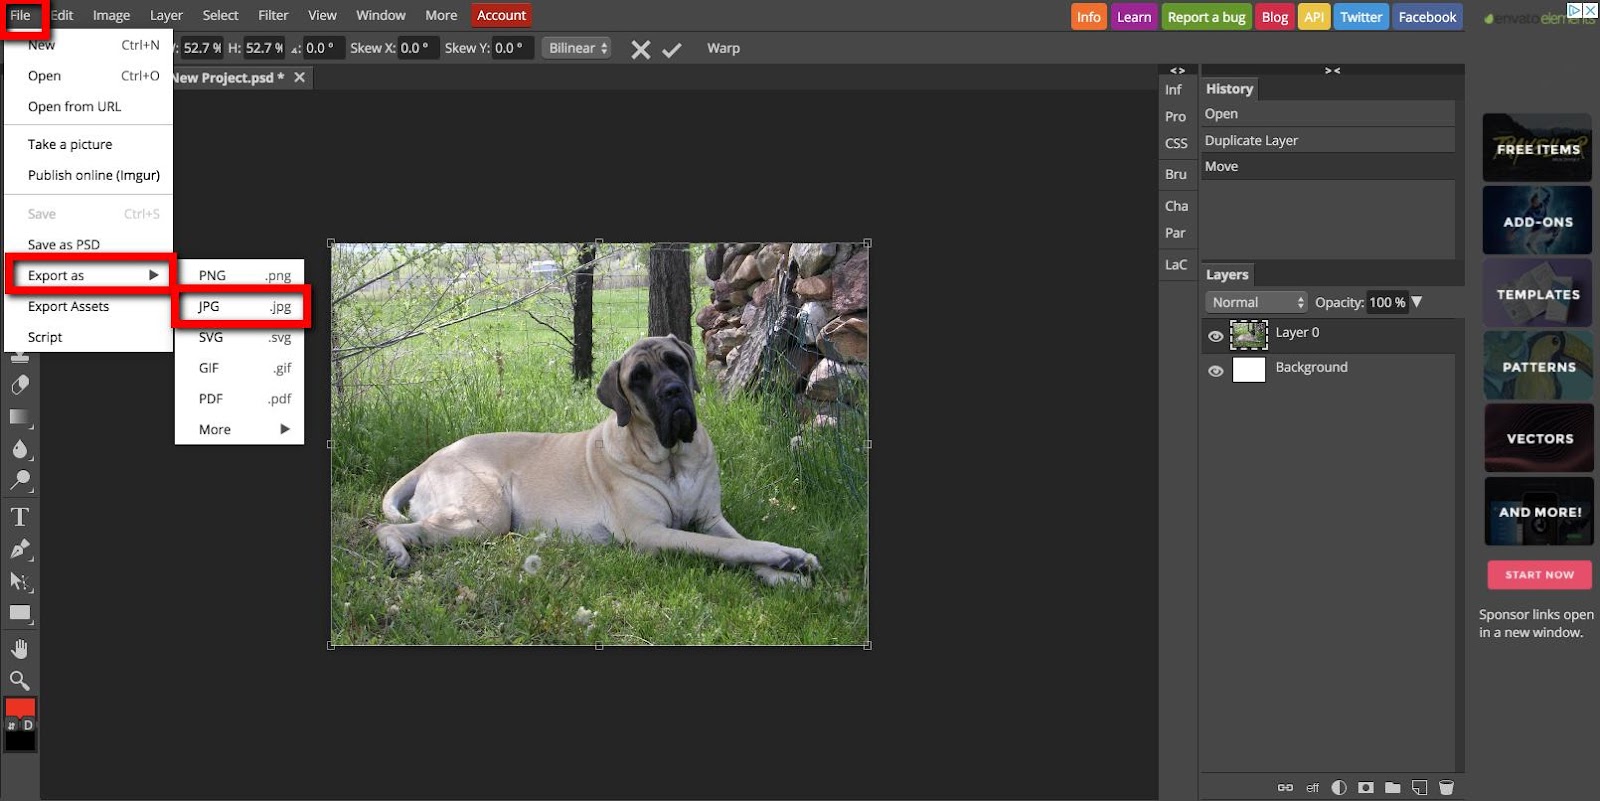
Name the file something that will be useful for future reference.
HOMEWORK: Choose one of your images and resize it to 1080x810 to practice.
Instructors
Melissa (she/her) is FDSA's resident marketing geek. She teaches several marketing classes here at FDSA, including: Marketing for Pet Professionals and Building a Wordpress Website. In addition to her marketing classes, Melissa teaches FDSA's Treibball Classes and workshops. (Click here for full bio and to view Melissa's upcoming courses)...
Registration
Gold
$260
Enrollment limit: 12
- Access to all lectures and homework forums discussion
- Read all posted questions and answers
- Watch all posted videos
- Post general questions to discussion forum
- Submit written assignments
- Post dog specific questions
- Post videos (unlimited)
- Receive instructor feedback
Registration dates:
March 22, 2026 - April 15, 2026
Silver
$130
Enrollment limit: 25
- Access to all lectures and homework forums discussion
- Read all posted questions and answers
- Watch all posted videos
- Post general questions to discussion forum
- Post dog specific questions (video only)
- Post videos (up to 2)
- Receive instructor feedback
Registration dates:
March 22, 2026 - April 15, 2026
Bronze
$65
Enrollment limit: Unlimited
- Access to all lectures and homework forums discussion
- Read all posted questions and answers
- Watch all posted videos
Registration dates:
March 22, 2026 - April 15, 2026
Scholarship available! Apply here
Why choose us?
We offer a variety of online training solutions designed to help you and your furry friend achieve success

FAQ
Explore the questions we get asked most often and find out everything you need for a smooth experience with us.
Start by clicking on the Course Schedule link at the top of this page. If registration is open, select the course you wish to take from the list and click on that link. From that page, click on the registration link and choose the enrollment level you are interested in. This webpage describes the steps in more detail.
Registration opens on the 22nd of the month preceding the course start date (ie March 22 for courses beginning April 1st) and close on the 15th day of the month the session has started (ie April 15 for courses starting April 1st). You cannot register for 6 week courses outside of this period.
Scholarships are offered to students who do not feel they can afford the full tuition, but who have a sincere interest in expanding their skills as a dog sport trainer. Scholarships are offered in the form of a 50% tuition credit at the Bronze level. To apply, select the Scholarships link from the top menu (under new students) or click this link. We ask that if you are on a scholarship, you limit yourself to one class. There are a maximum of three scholarships per student permitted in a calendar year.
Our testimonials
Don't just take our word for it — see what our clients say about their experience working with us.